Blog
21 April, 2024
May 30, 2023
Often, organizations that use Project / Visio use it with limited licenses, which means that only a limited number of users can access and use these applications concurrently. To address this, some companies create separate desktop pools or virtual machines (VMs) to accommodate specific applications, but this approach can lead to increased complexity and resource utilization.
VMware App Volumes is a powerful solution that addresses the challenges organizations face when it comes to managing application licenses and multiple pools. With App Volumes, organizations can dynamically deliver and manage applications to end-users on-demand, regardless of the underlying infrastructure. This eliminates the need for limited licenses and allows applications to be easily assigned and revoked as needed, improving license utilization and flexibility.
Furthermore, App Volumes provides a unified application management framework that eliminates the need for multiple desktop pools. It allows applications to be delivered on-demand to individual users or groups, eliminating the need for separate pools for specific applications. This simplifies management, reduces overhead, and enhances overall resource utilization.
In order to solve the challenges of limited licenses and multiple pools, however, App Volumes must be installed in a specific order. Here is the how-to to get you through!
Requirements:
Our install folder structure will look like this:

Creating the Application:
On the inventory tab, select “Applications” and click “Create.”

Give the application a name and click “Create” to continue to the package creation.

Give the package a name and select the datastore where the templates are located. Then click “Create.”

Next, you will need to choose your provisioning VM and click “Package.”

Confirm the action.

The VMDK will be attached to the provisioning VM.

Log in to the provisioning VM with a local administrator. A pop up confirming that the packaging process started will be shown. Do not press “OK” until you finish the installation!

Now we can start the installation of Project by executing the command.
Setup.exe /configure Office2021-Project.xml


When the installation is finished, click “OK” on the App Volumes notification above.
You will get a confirmation message and will be asked to select the package you wish to “finalize.”


You will be asked to restart the VM. Click “OK” and the VM will be restarted automatically.

Log in to the VM with local administrator.

You can see in the App Volumes Manager that the application is packed and enabled. Click “Set Current” to make this version the main version.

In the application windows, click “Assign.”

Search the user and assign the Marker permission (the current version) and click “Assign.”


The login without the Project package:

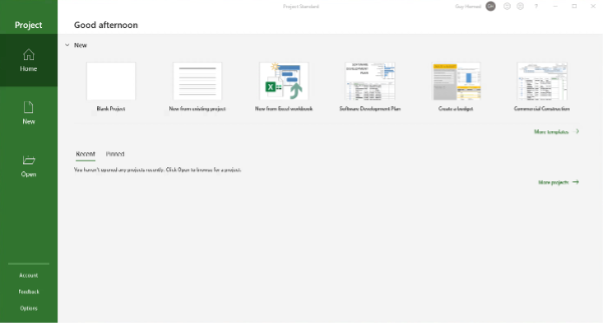
The login with the project package:


Written by: Ofir Dalal, End User Computing Specialist & Guy Hemed, VDI Specialist